Getting a tattoo stencil perfectly placed that will stay throughout the whole session can be tricky sometimes.
In this guide, we’ll explain how to transfer tattoo stencil perfectly onto the skin and why tattoo stencil is so important in the process of getting a tattoo.
For this article, we got in our studio an artist with many years in the industry: the international danish tattoo artist Daniel Paarup. Daniel has been tattooing in studios all over the world for more than 12 years, learning different techniques on what’s the best way to apply tattoo stencil onto the skin.
To get an overview of the process, the steps to apply the perfect tattoo stencil can be broken down as following:
How to transfer a tattoo stencil?
- Cleaning the area.
- Shaving.
- Disinfection.
- Application of tattoo stencil solution.
- Peel & dry.
Check out this video where we go through all steps using a real case:
Why Getting the Tattoo Stencil Right is So Important?
It’s very important that the tattoo stencil stays on throughout the whole session, as it will be used as a guide to work on, and get the design perfectly placed.
This is particularly important if your style is based on fine lines, geometrical shapes, and any form of realism.
How to Transfer Tattoo Stencil in 5 Steps
Step 1: SOAP
In this step, we will proceed to clean the area we will be working on. Washing the area is important for two main reasons: hygiene and moisturize the skin for the shaving step.
It’s very important to remember that tattooing is a medical procedure, therefore ensuring high hygiene standards to prevent infections is vital, also when applying tattoo stencil on the skin.
Before we start shaving, it’s recommended to apply soap that moisturizes the skin. Not only to clean the area, but also to get the surface smooth for a safe and easier shave. Shaving on dry skin is not recommended, as it can damage the skin.
TIP:
- Clean a large area to make sure bacteria won’t come in when applying the tattoo stencil.

Step 2: SHAVE
In this step you will shave the area to make sure the skin is free of hair. Use the foam soap you’ve applied in the step before to shave the area you want to tattoo.
TIP:
- As mentioned before in step 1, shave way over the area the tattoo will be placed to make sure the whole area is completely shaved when applying the tattoo stencil.

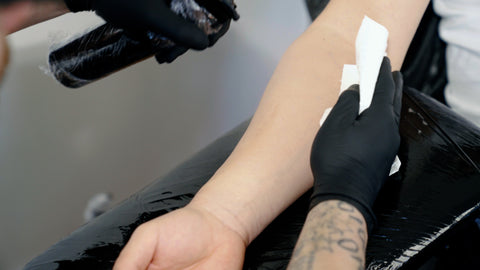
Step 3: DISINFECT
After cleaning the area and removing the hair, it’s time to disinfect with alcohol.
The reason we want to disinfect the area is, of course for hygienic reasons, but also to prepare the skin for the stencil.
By disinfecting with alcohol before applying the tattoo stencil, we make sure any natural layer of fat, grease, or any external agent will be removed. That way, the stencil will be applied completely onto the skin, with nothing in between.
TIP:
- Wipe off any excess, and make sure it’s completely dry before applying the tattoo stencil solution in next step.
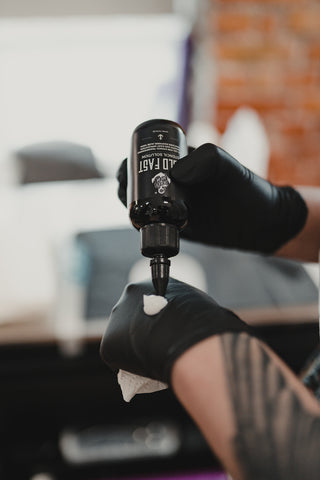
Step 4: STENCIL SOLUTION
Arguably the most important/tricky step to get the tattoo stencil perfect on the skin.
If we get the stencil perfectly placed and we know the perfect timing before we can proceed to remove the stencil, we can almost guarantee that you will have a nice and perfect tattoo stencil transferred to the skin.
- Apply the stencil solution evenly all over the tattoo area – and a bit over. There’s no need to apply a thick layer of solution, just enough to make sure the whole surface gets covered.
- After that, help the solution sink into the skin by rubbing it in circular motions.
- When the solution is drying out you will feel it in the skin, as it gets sticky. At that moment, the skin is ready to get the tattoo stencil.
- Carefully apply the stencil onto the skin and press from the center outwards.
- Rub over the stencil with kitchen towel until to make sure it’s completely dry.


TIPS:
- For correct placement, use markers (as shown in the picture below) to ensure the tattoo stencil sits on the right place.
- A good indicator that the skin is dry enough for the paper to be removed is that the client will feel how it’s getting tight on that area.
- Make sure you don’t leave any stencil solution on the skin.

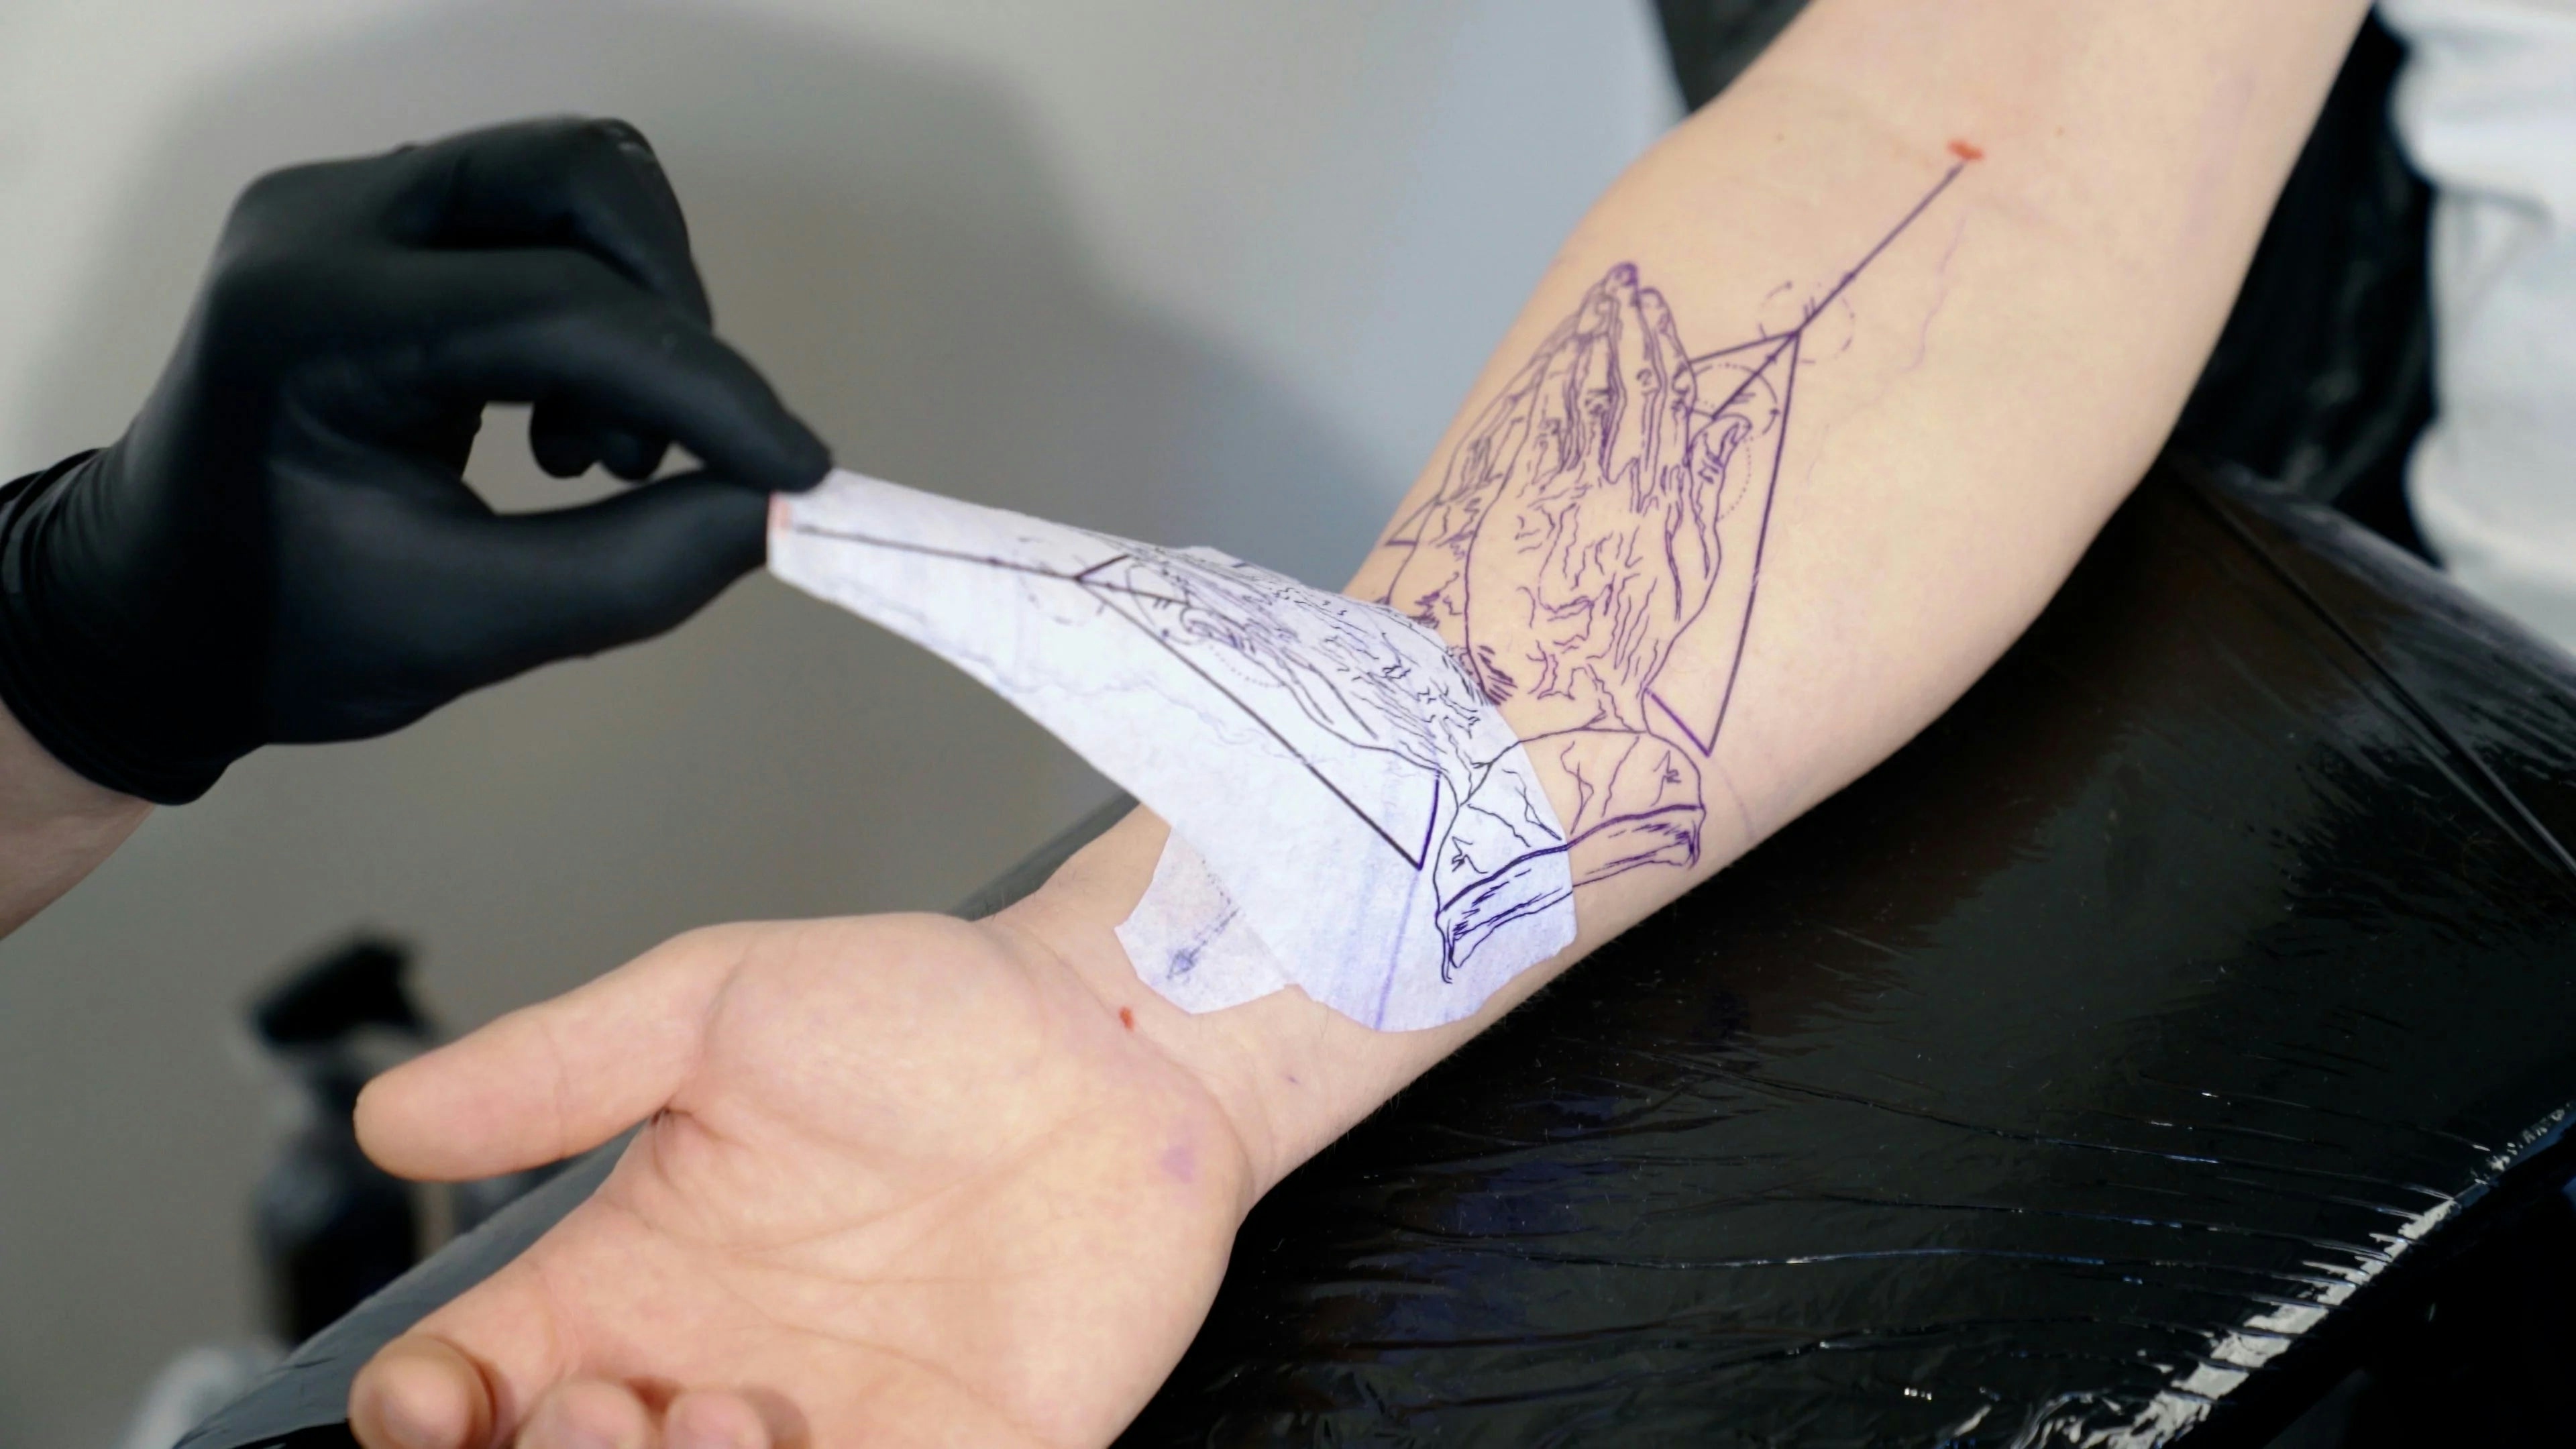
Step 5: PEEL & DRY
If we’ve done everything the way we should, this step should be fairly easy:
- Once the skin is dry enough, we proceed to remove the stencil paper.
- Then, we let it dry for 15-20 minutes.
- After the waiting time, the area is ready to be tattooed.
TIPS:
- A good indicator that the skin is ready is that when you take off the stencil paper, the skin will lift after the paper.

Products Used on This Guide:
- Tattoo Foam Soap

- Tattoo Stencil Solution
- Alcohol
- Stencil Transfer Paper
Bottom Line
Getting your stencil right will help you ensure a perfect design. For that reason, it's important to make sure you master the art of transferring the stencil to the skin.
We hope this guide has been helpful and will add some value to your quest on becoming the best tattoo artist you can be!